First, you should know that you'll need to install some dependencies to be able to run the project.
- installing node.js environment
- installing VSCode
- Open the portfolio project in VS Code to edit the code and preview it in your Chrome browser.
- Replace the portfolio data with your personal information. It's recommended to have basic knowledge of JavaScript arrays and objects to edit the data more easily.
- Add appropriate images in place of the placeholder images.
- Enable the contact form to allow users to send messages via email.
- Deploy the portfolio using a hosting provider Vercel to make it accessible online.
- Test the contact form and other functionalities to ensure everything works properly
Folder Structure - files/folders that should modified
├── public                          # [Folder] public folder contains of images and cv file
│   ├── images                      # [Folder] Images
│   │   ├── projects                # [Folder] Project images
│   │   ├── tools                   # [Folder] Tool images
│   │   ├── services                # [Folder] Services images
│   │   ├── clients                 # [Folder] Client images
│   │   └── hero.jpg                # [File] Hero image
│   │   └── about.jpg               # [File] About image
│   └── cv.pdf                      # [File] CV PDF file
│
├── src                             # [Folder] Source Folder (main folder)
│   ├── _actions                    # [Folder] Actions (specifically for form action)
│   ├── app                         # [Folder] App router
│   │   └── favicon.ico             # [File] favicon image (optional)
│   ├── components                  # [Folder] Components
│   ├── data                        # [Folder] Data (portfolio data) modify all files inside
│   │   ├── about.ts                # [File] About section data
│   │   ├── contact.ts              # [File] Contact section data
│   │   ├── config.ts               # [File] configuration file ( theme variants configuration )
│   │   ├── home.ts                 # [File] Home section data
│   │   ├── projects.ts             # [File] Projects section data
│   │   └── services.ts             # [File] Services section data
│   ├── context                     # [Folder] Context for global state management
│   ├── hooks                     # [Folder] Context for global state management
│   ├── libs                        # [Folder] Custom hooks
│   └── shared                      # [Folder] Shared folder
│
├── .env                            # [File] Environment variables file
├── .eslintrc                       # [File] Eslintrc file
├── .gitignore                      # [File] Git ignore file
├── components.json                 # [File] Components description
├── next-env.d.ts                   # [File] Environment variables types
├── next.config.mjs                 # [File] Next.js configuration
├── package-lock.json               # [File] NPM lock file
├── package.json                    # [File] NPM lock file
├── postcss.config.mjs              # [File] Postcss configuration
└── tsconfig.ts                     # [File] Project readme
- install VSCode
- install node.js
- open VSCode and open the portfolio project folder Portfolio folder that contains of public, src, .env, etc... files
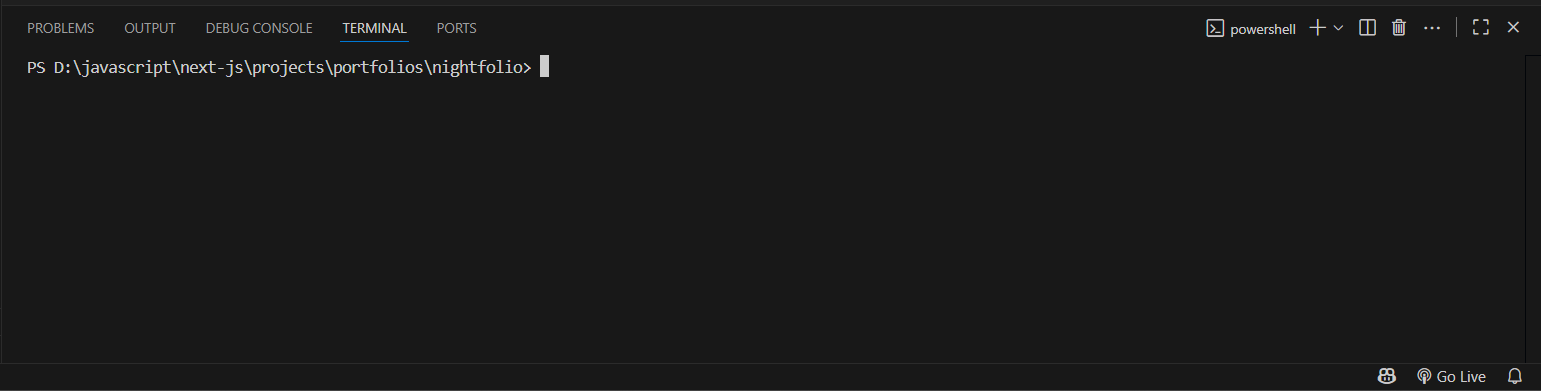
- press CTRL + J to open the terminal and then select TERMINAL
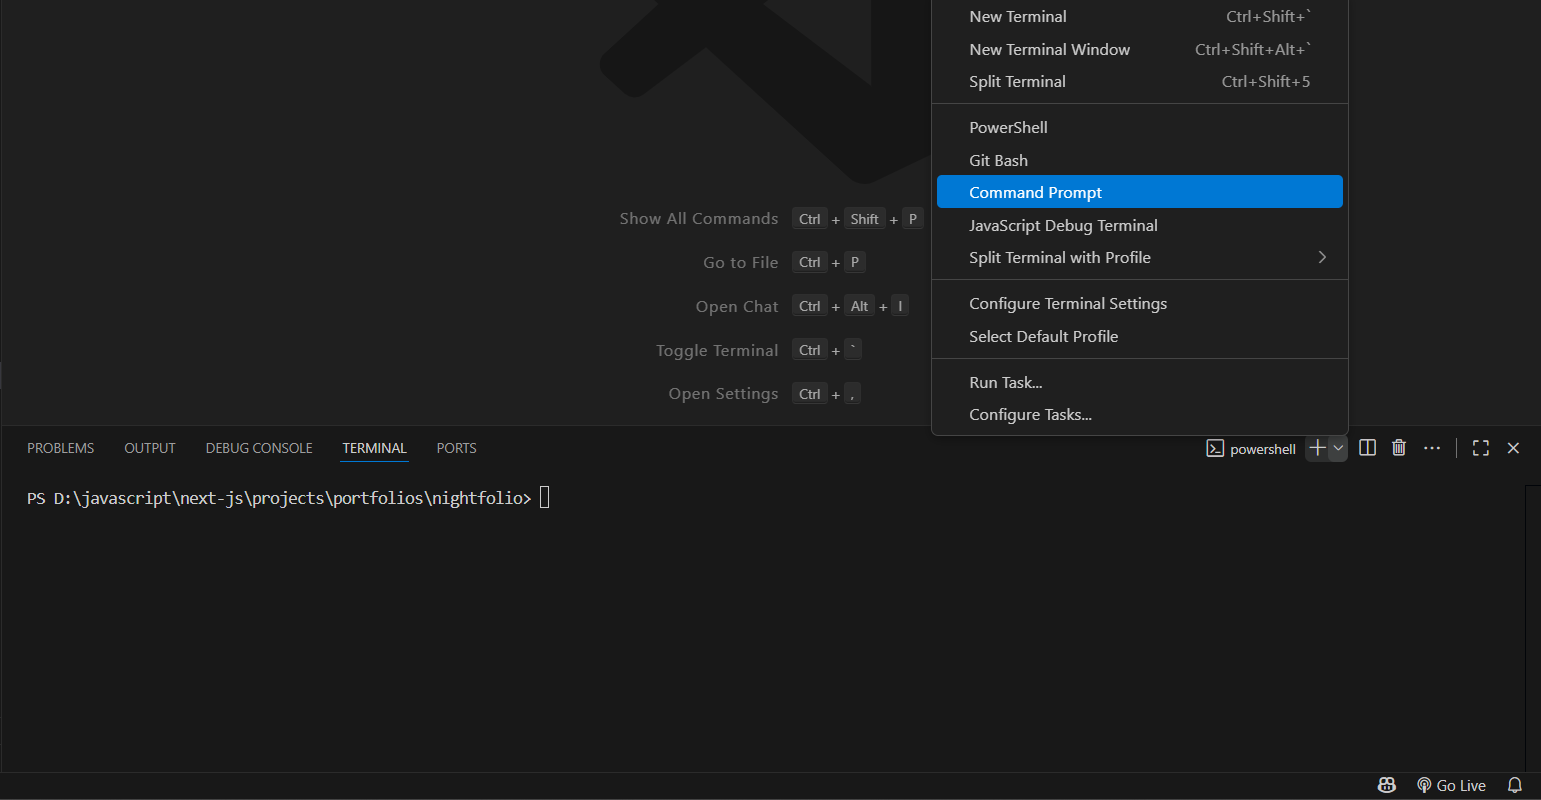
- choose command prompt instead of powershell
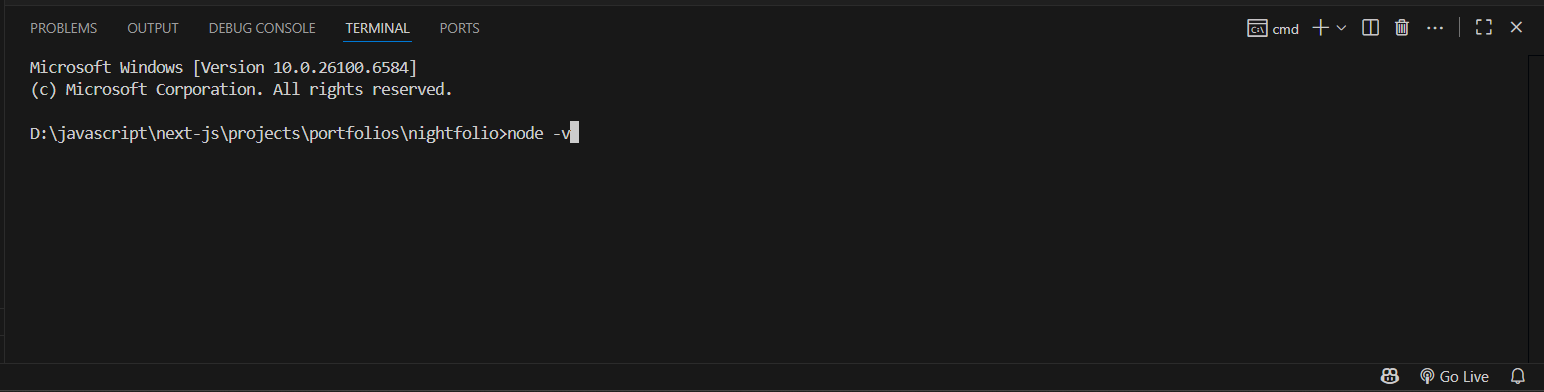
- write: node -v and press Enter to show the version of nodejs and sure you installed properly otherwise there is a problem about installation
- write: npm i and press Enter to install node_modules folder
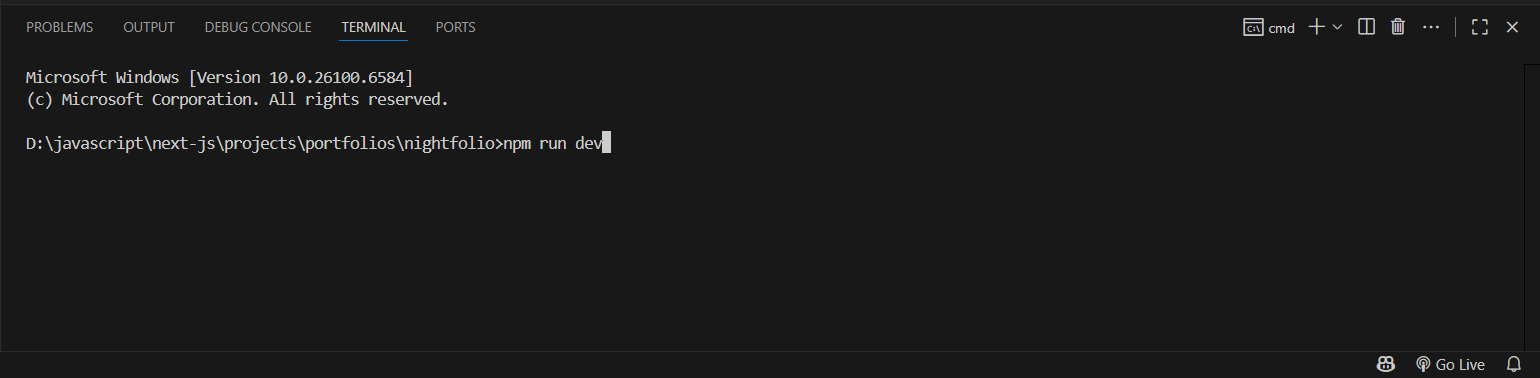
- write: npm run dev and press Enter to open the project in your computer as a server
- you will find http://localhost:3000 in the output just press Ctrl + click on http://localhost:3000 to open the link on browser
- now you can customize the portfolio and show your customization on the web page without reload the page
- you should know that before start: all editing will be on data folder for portfolio data and public folder for images and cv file and .env file for sending mails
- try to learn from mockup images and data to understand how to modify the portfolio to fit you and your needs


if you want edit template easily just you need simple knowledage of js variables,arrays and objects to edit the portfolio and it's really simple and here the explanation:
Typescript is the superset of Javascript so Typescript is not another language, meaning that any valid JavaScript code is also valid TypeScript
javascript variables

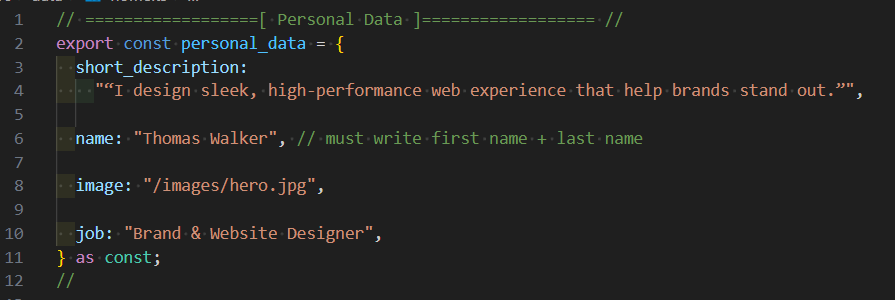
javascript objects
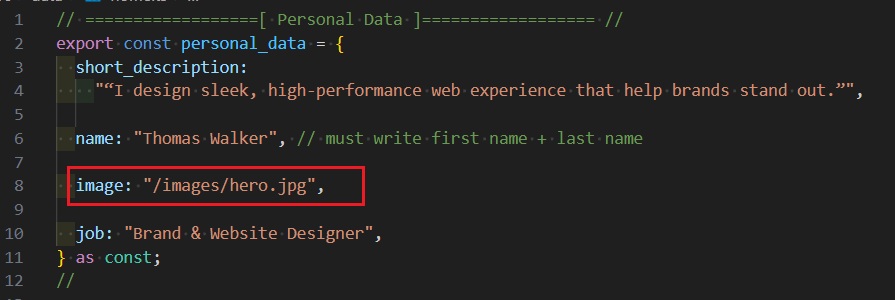
personal_data is the object and short_description, name, image and job are properties
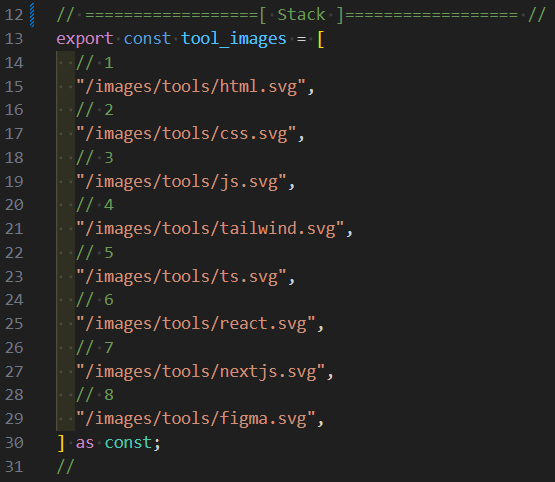
javascript arrays
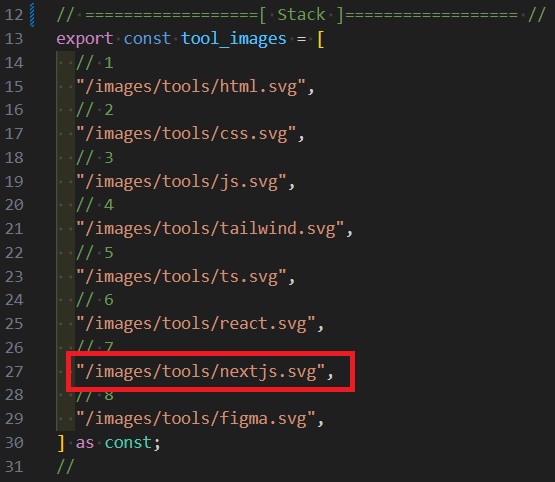
- this an array of strings and strings here in this example are tool svgs
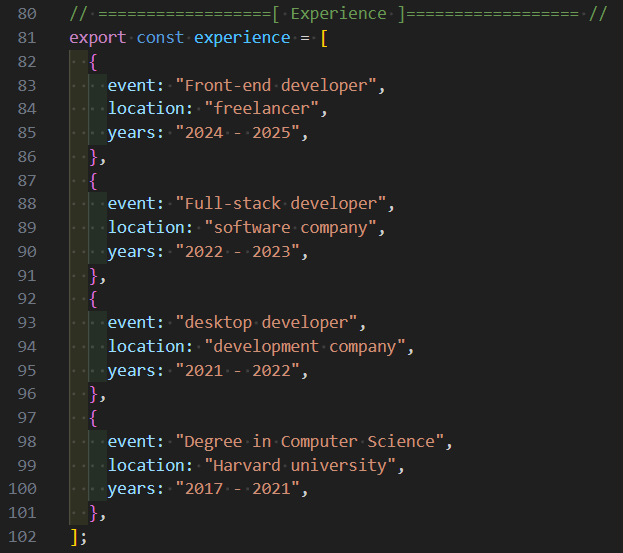
- this an array of objects and objects here in this example about experience progress from newest to oldest, and every object has event, location, years properties
data folder
- Inside the /data folder, you’ll find all the sections of the portfolio (e.g., home, about, projects, etc.).
- Each section contains variables and blocks of properties that define its content. To personalize the portfolio, update these values with your own information. For example, change the name, description, or image paths to match your data.
- The structure is consistent across all sections
- you can add or remove and edit , you have the full control
- you will just replace some of texts and images paths to fit yours needs
- Do not change the names of constants or keys. Only modify the values to suit your needs.
open src/config.ts file
app info
- website name
- website description
custom cursor
- true (toggled on)
- false (toggled off)
dark theme
- dark_theme
- - true (dark)
- - false (light)
smooth scrolling
- smooth_scrolling
- smooth_scrolling_duration
- - true (dark)
- - false (light)
- - duration in seconds, default value is 1.5
home section
- home-1
- home-2
- home-3
client/testimonials
- slider
- stacked-sticky-cards
projects/portfolio section
- cards
- 3-cards
- stacked-sticky-cards
- stacked-cards
- list
- side-cards
services section
- cards
- list
contact section
- contact-1
- contact-2
general steps
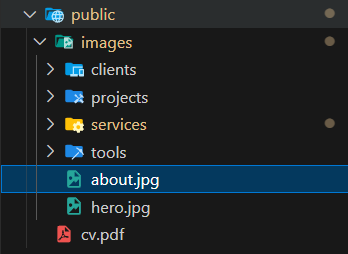
- open public folder and then images and there are projects, tools, clients, about.jpg and hero.jpg
- Replace the existing placeholder images with your own appropriate images.
- Delete the cv.pdf file from the public folder and replace it with your actual CV file.
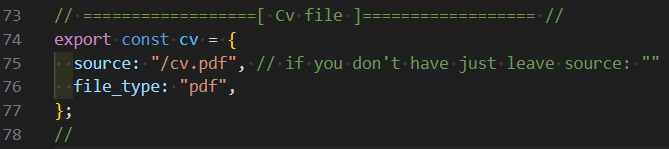
cv file
source: "/cv.pdf"

hero & about image
- When you want to add your image (or any image), place it in the images folder. Then, in the data file, update the corresponding property with the image source
-
image: "/images/hero.jpg" -
image: "/images/about.jpg"


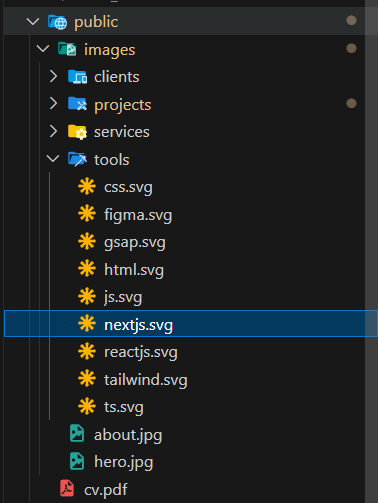
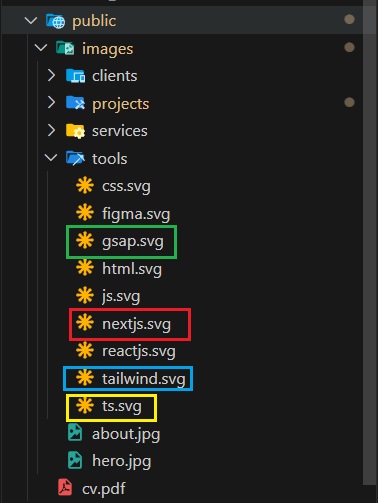
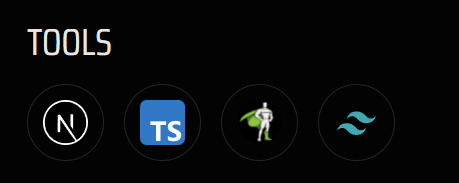
tool image
- tool svgs from svg repo
- Add your tool svgs in the images/tools folder. Then, in data/about, update the image source paths.
- example
image: "/images/tools/nextjs.svg"
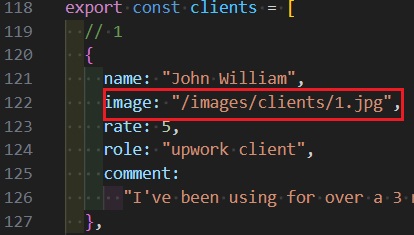
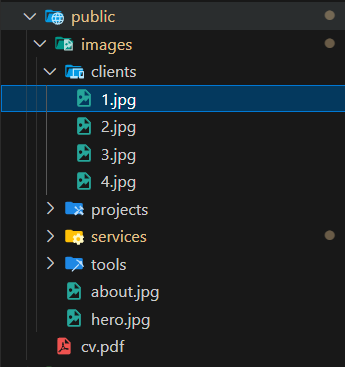
client image
source: "/images/clients/1.jpg"
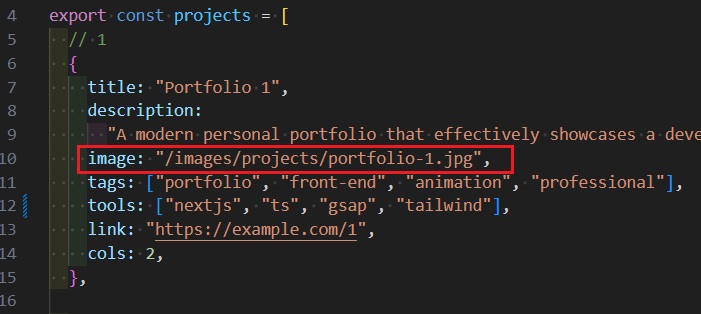
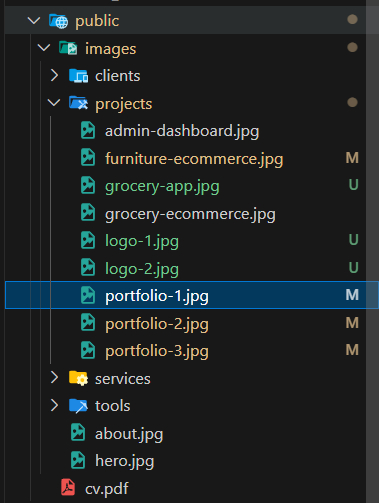
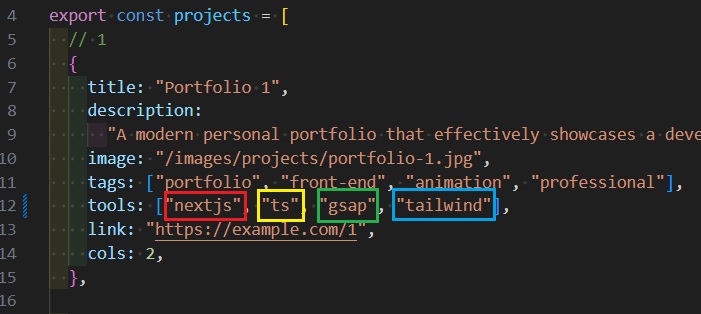
project image
- Project Image at aspect ratio (4:3) 1600 x 1200
- Place your project images inside the images/projects folder. Then, in data/projects.ts, update the image paths accordingly.
- example
image: "/images/projects/portfolio-1.jpg" - you must write project tools like you named in public/images/tools you don't need to write tool image paths, note that:
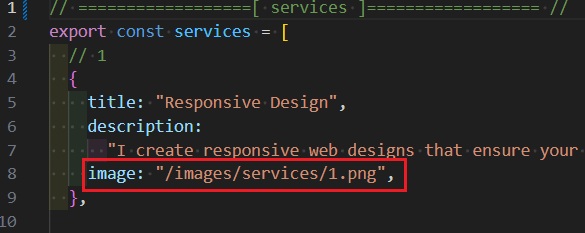
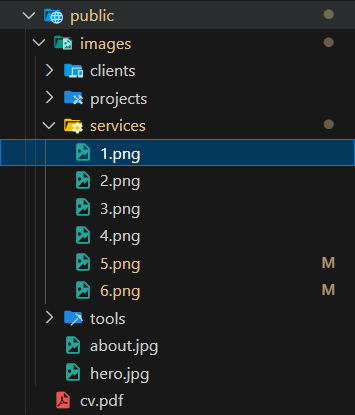
service image
- service image from 3d-icons
- Add your servcie image in the images/services folder. Then, in data/services, update the image source paths.
- example
image: "/images/services/1.png"
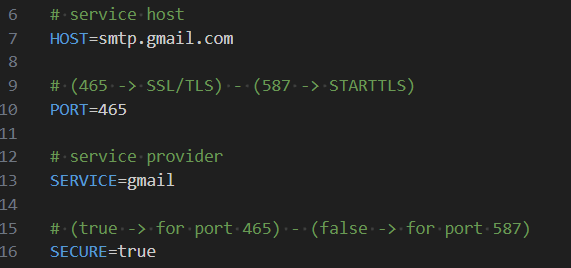
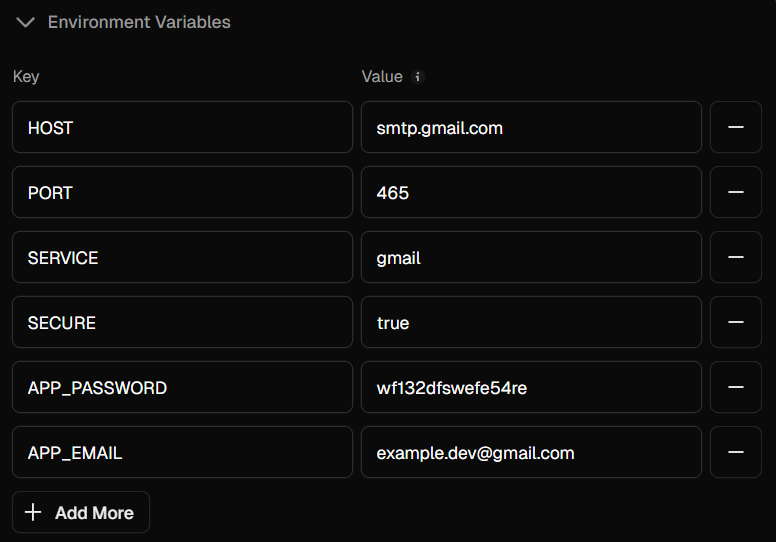
- open .env file
- default values for gmail email service
- create app password from google just go to google, and select privacy section and search for app password and create one and then copy it to add to APP_PASSWORD and the app password contains of 16 characters and don't forget to remove spaces between password
- add your actual email in EMAIL and look at the example below
- you can test it to send to your self

- install Git
- test this command in VSCode terminal:
-
git -v - you should see the version of git to ensure proper installation
- create a github account github
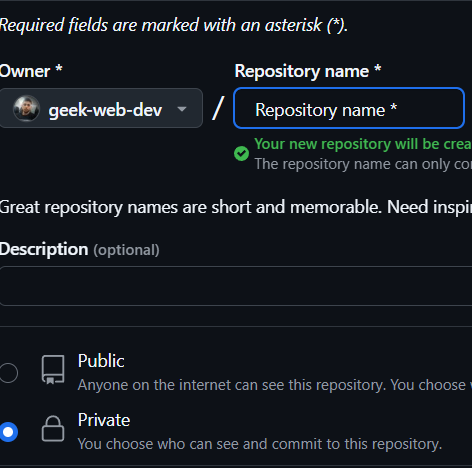
- create new repository
- write Repository name and make it Private and then press on create repository button
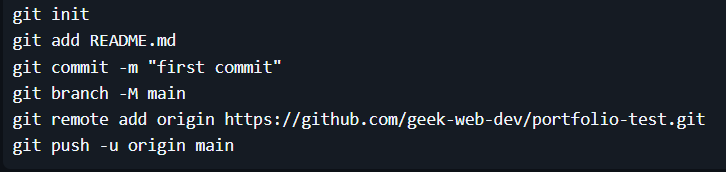
- open the terminal in VSCode and copy command lines line by line to push the all portfolio files to your repository, so follow these steps
-
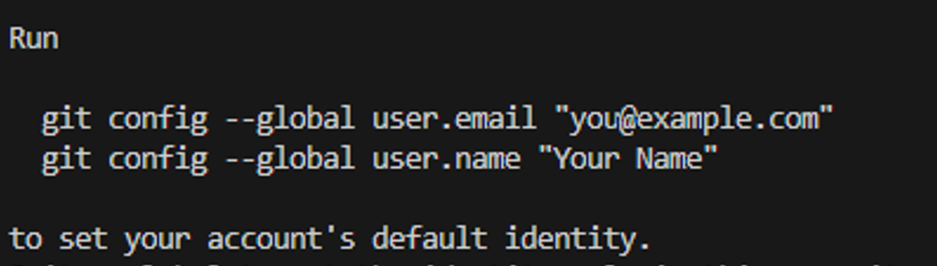
if you are a new user
git config --global user.email "you email here" git init-
git add .to add all files -
git commit -m "first commit" git branch -M main-
copy your own:
git remote add origin https://github.com/******** git push -u origin main- create vercel account Vercel
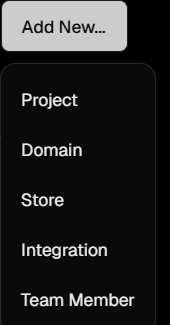
- click on Add New... button and select project
- continue with GitHub
- import the portfolio project
- write project name and add environment variabels for contact form
- Deploy & Enjoy!
- optional: Enable analytics
- analytics tab
- enable it
- refresh the page
- If you want to make updates later write these commands in VSCode terminal
git add .git commit -m "update somthing"git push origin main


- Project Image at aspect ratio (4:3) 1600 x 1200
- 3d Service image from 3d-icnos
- tools images svg from svg repo
- know more about VSCode by watching some videos, how to use, how to add extenstions that make your life easier
- don't change const variables to another name that exists in data folder's files about.ts, projects.ts, etc..., just edit the values
- test your changes
- focus when editing
- if you face any confusion about modification you can know more about javascript variables & datatypes, arrays ,objects
- give me your feedback or suggestions if you hope to change somthing, contact me anytime
If you face any problem or have confusion about something or have any sugesstion please contact me any time contact me